As if the Internet doesn’t have enough weird fetishes floating around, here’s a quick tutorial for beginners on how to give someone elf ears and vampire fangs in photoshop.
For this tutorial, I’ve used a stock photograph of the beautiful American model, Valerie Hatfield.
Those interested in her work can contact her here.
- Open your image in Photoshop
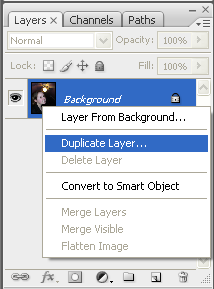
- As always, duplicate the background layer before anything else.
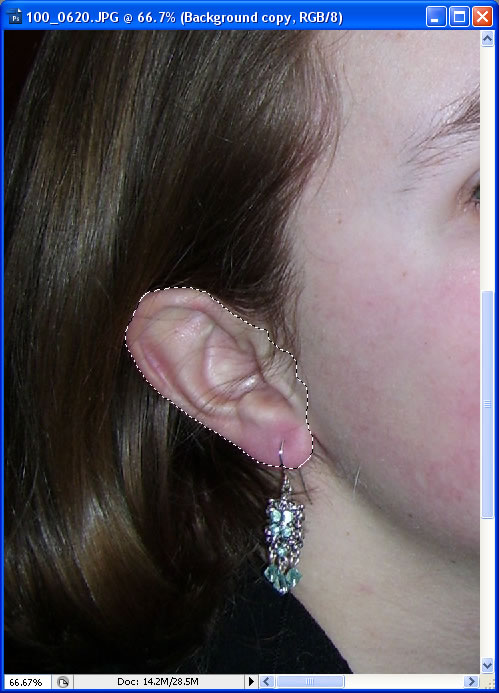
- Highlight the ear. This can be done rather easily using the quick-select tool (alt+click to remove from selection).
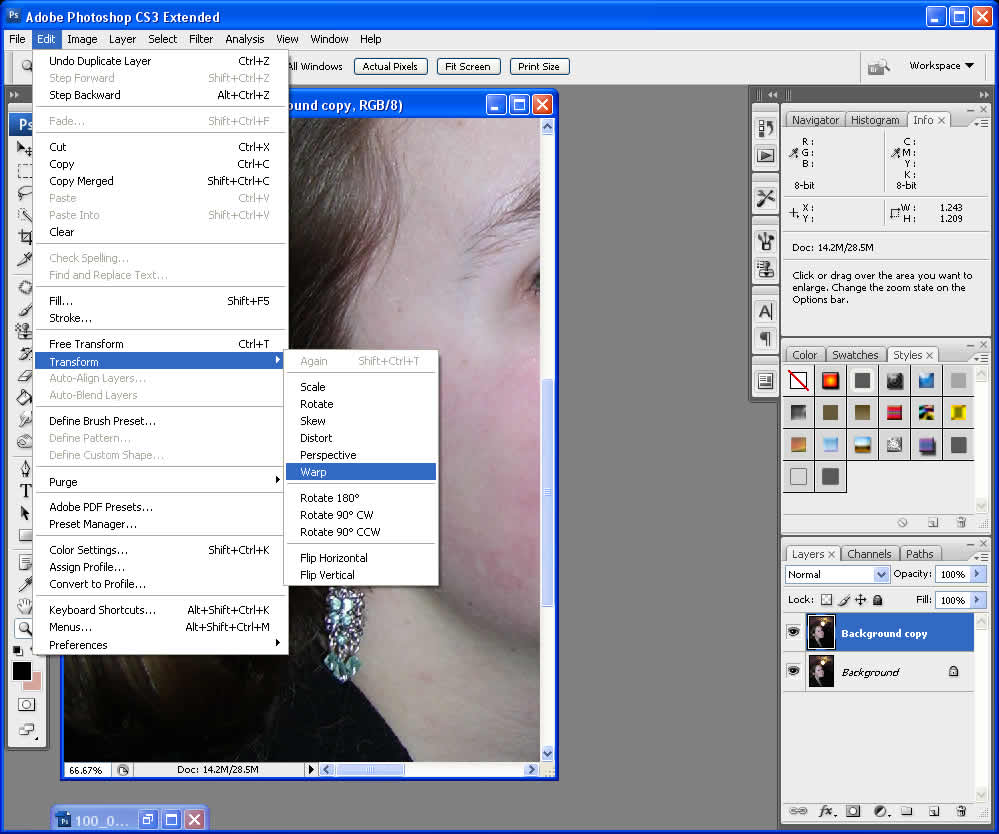
- Now warp the ear (edit->transform->warp) to your liking.
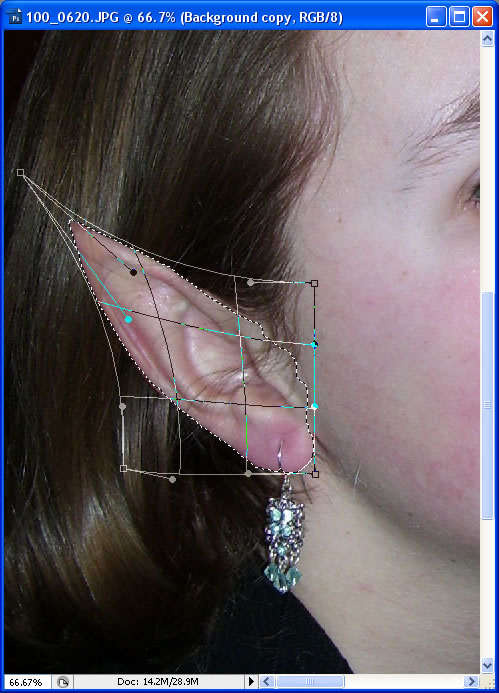
(Note that you may have to remove part of the ear from the background. See any tutorial on removing objects from images – you could, for example, simply copy and paste a piece of hair over the old ear)
That takes care of the elf ears – now let’s give her vampire teeth as well. We could use the same technique we used for the ears, but that leaves the tooth looking flat and two-dimensional; I prefer a technique which causes the tooth to affect the lips as well.
- Select the tooth in the same way you selected the ear.
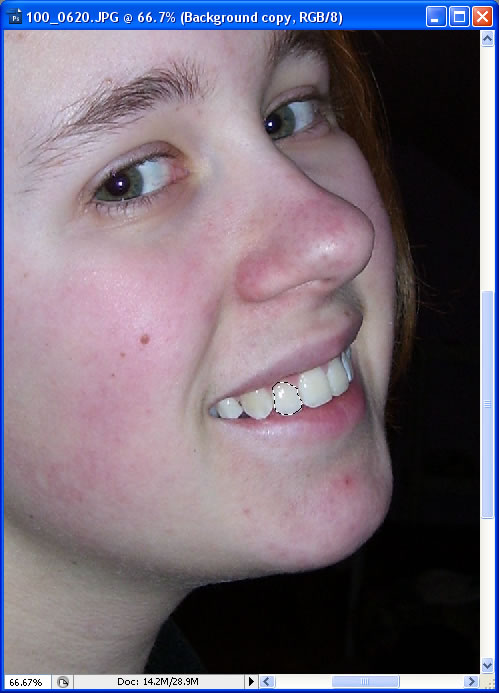
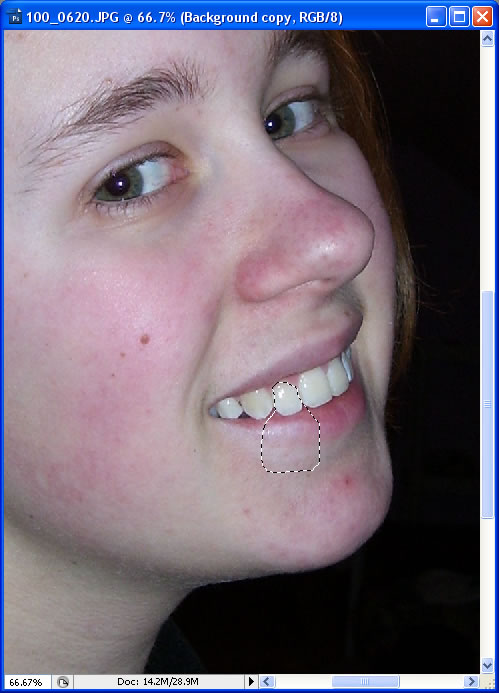
- Now, using the lasso tool, add to the selection (by holding shift) a small portion of the lip and chin just below and around the tooth, as so:
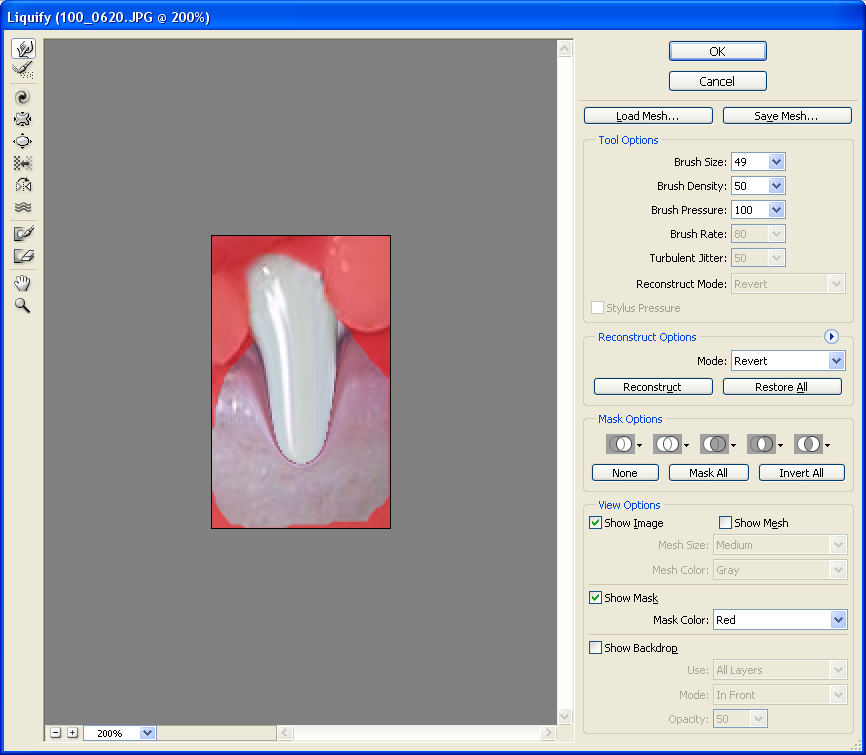
- Open the liquify window (Filter->liquify). Using the forward-warp tool and a brush about the size of the tooth, drag the tooth downwards. Try to do it one one swift motion, using undo (ctrl+alt+z) to go back as many times as necessary.
- Select the Reconstuct Tool on the left, and use it to give your tooth a point. You may want to lower your brush density and experiment with different reconstruct modes (under ‘Tool Options’) to get it just right.
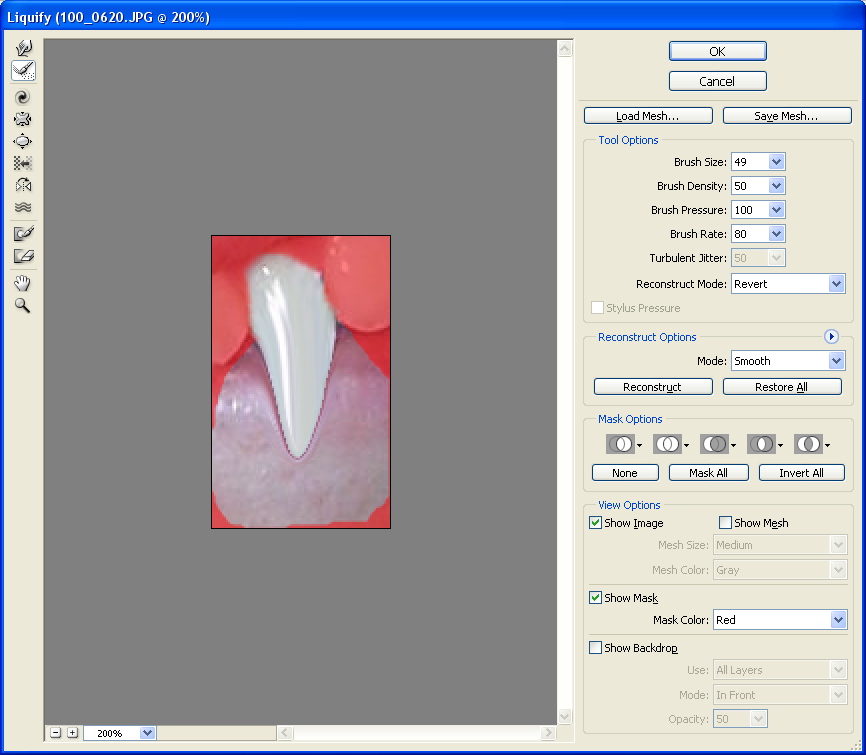
- That’s it! Here’s what the finished tooth looks like:
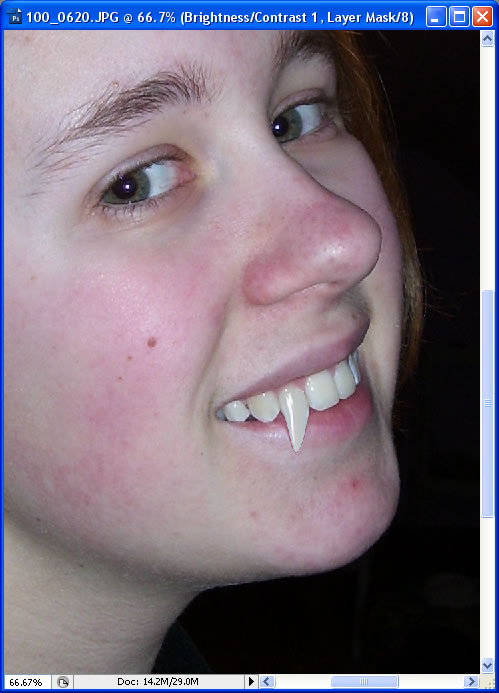
And, after a few more tweaks, the final image:
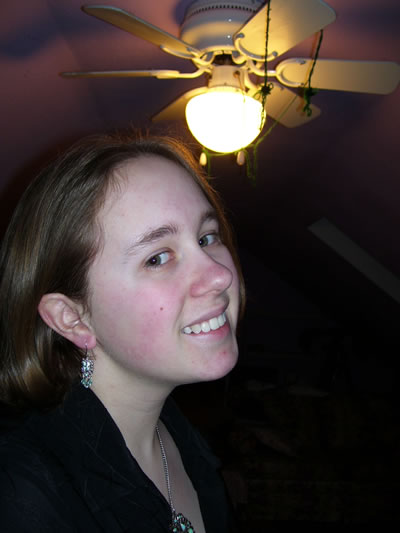
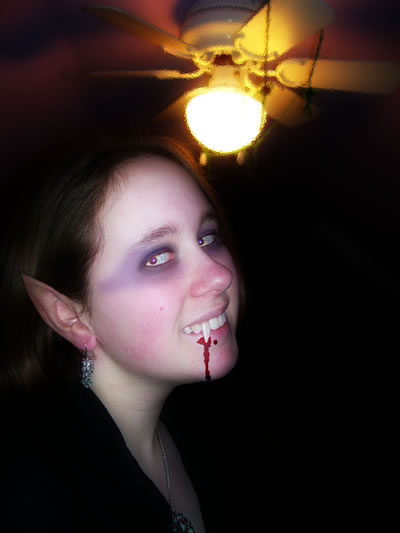


3 Comments
I came.
“Thats cool..but doesnt suit for a pretty young lady like her.
kate
Looks like you elongated the wrong tooth. *g*